diy wine charms with free printable
These bright and colorful DIY wine charms are a fun way to keep track of your guests' wine glasses at your next party and they make a great hostess gift! Even better, they are super easy and quick to make even if you have never heard of shrink plastic. Shrink plastic - what's that? It is a neat little sheet of plastic (some printable like this one) that you draw or print a design on, cut out, then shrink in an oven. Just like that, you have a custom OOAK durable little charm.
If you have heard of it before, then you probably know there are TONS of tutorials on Pinterest. So why should you read mine? Because, it comes with a FREE printable to make your very own wine charms using my original illustrations! Yay! Yippee! Hooray!
TUTORIAL
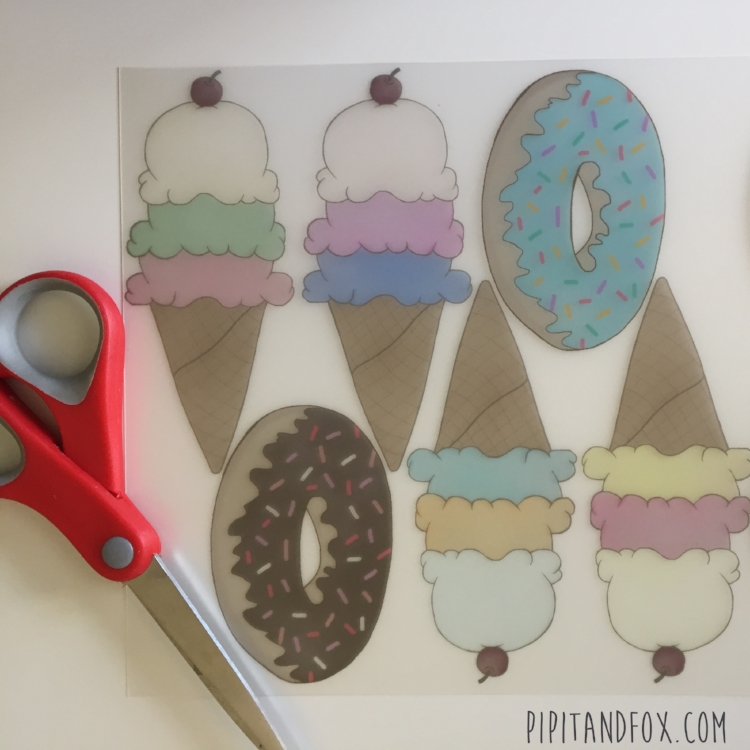
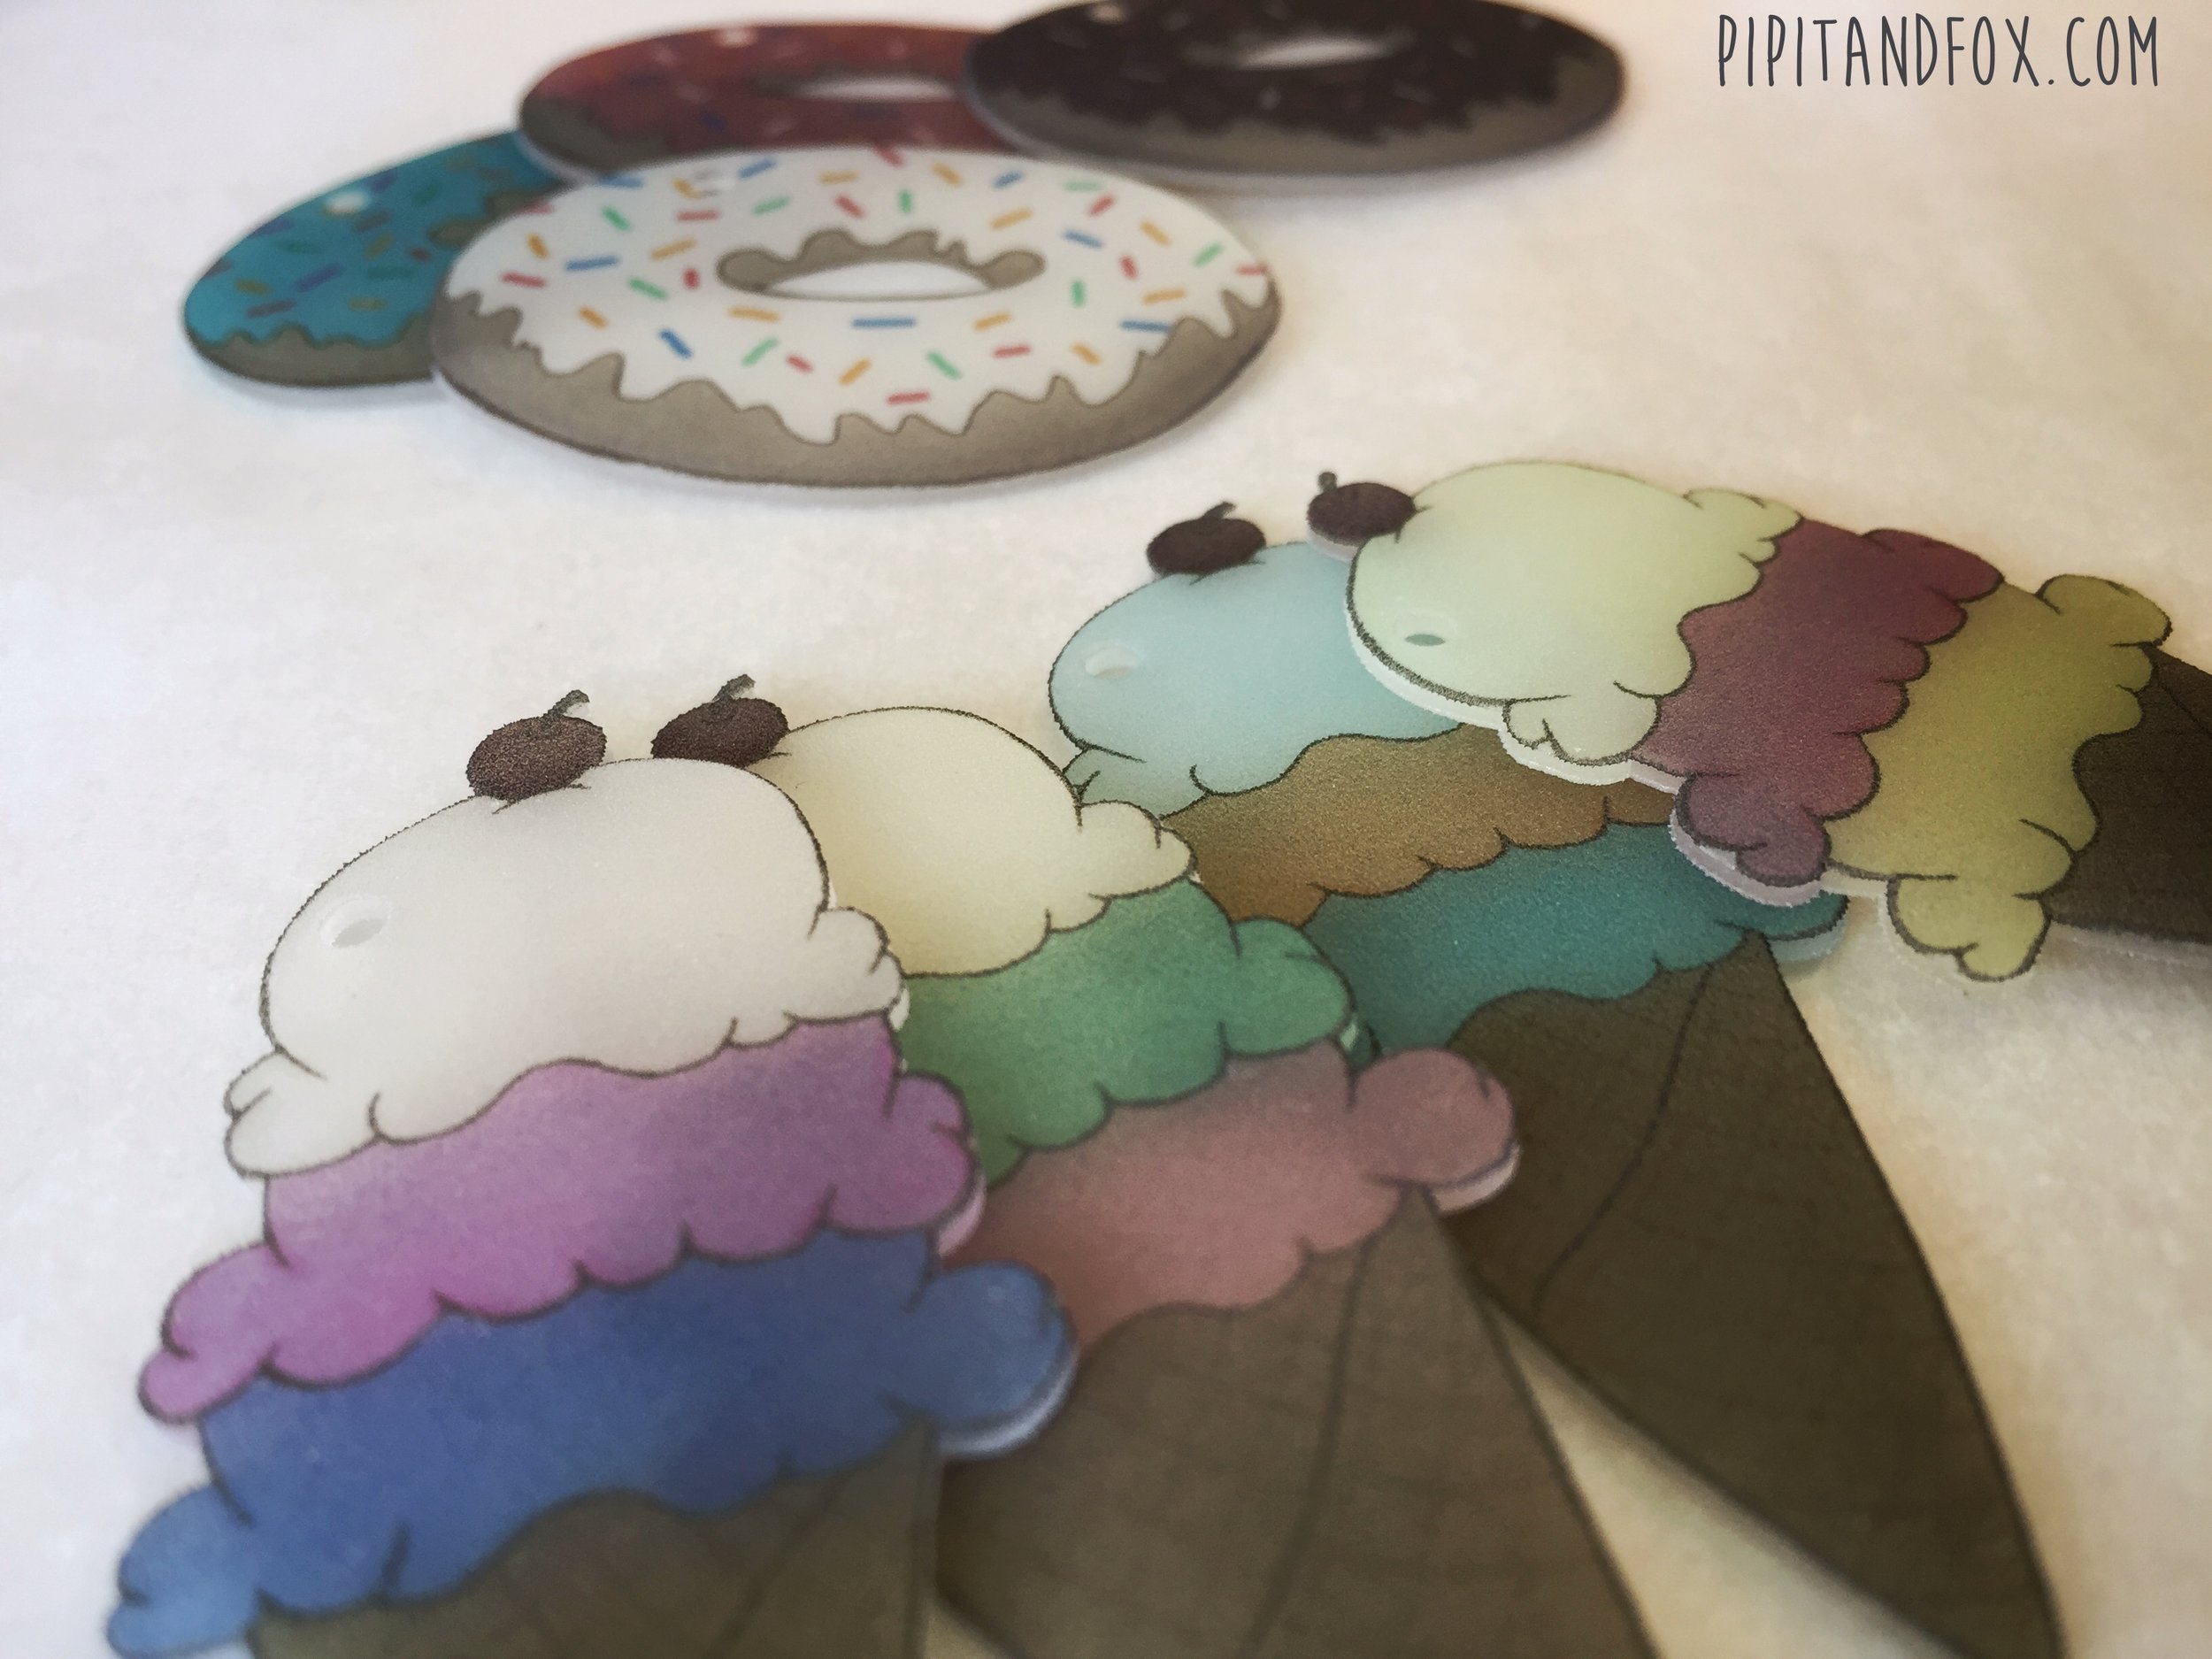
1. DOWNLOAD, PRINT & CUT: First things first - download the free printable from yours truly (available at the end of the post), then - pick your shrink film. You can either get a printable shrink film and print the download directly onto the film or you can print the free download onto paper and then hand trace and color onto a sanded shrink film. If you hand trace, I recommend a permanent marker for the outline and colored pencils or permanent markers for the colored fill. A quick internet search will show that there are tons of shrink film choices, but the basic options are [1] inkjet printable or not and [2] crystal clear, transparent, or solid white. I used a printable transparent film. The film shrinks about 50%, so you'll see in the free printable that the illustrations are BIG.
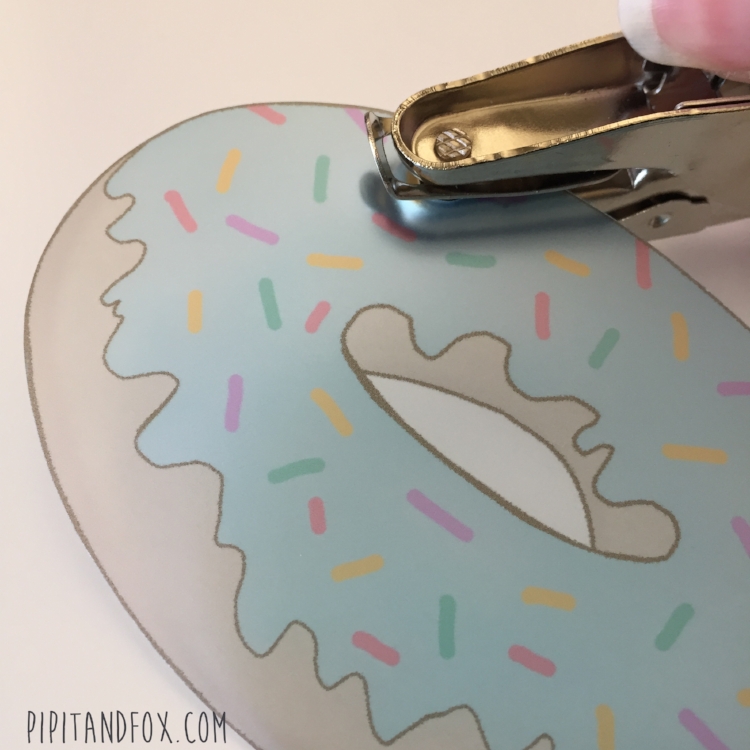
I used sharp scissors to cut most of the design, with a little help from an exact-o knife (with a brand new blade) to cut the more detailed areas. I didn't worry about cutting out the hole in the donuts, because who really has THAT much time or patience? Ok - once everything is cut out, use a standard hole punch to create the hole for the jump ring.
Next, comes the fun part - watching the plastic shrink.
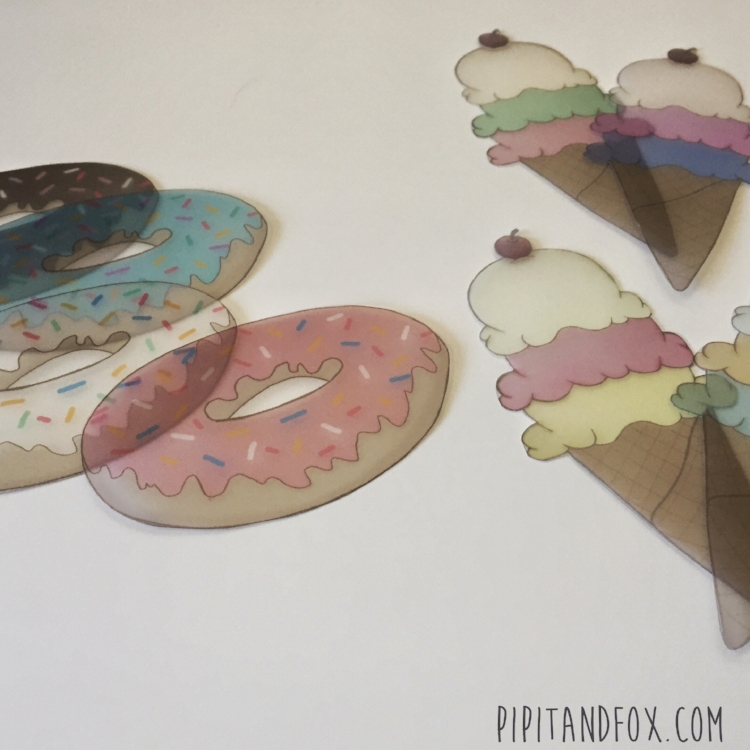
2. HEAT & SHRINK: If you have a toaster oven I recommend using that instead of a full size oven, but either will work. The key for this step is faith! - believe in the shrink plastic. The first time I tried the "shrinky" step, and the plastic sheet started to curl and warp and fold in on itself, I lost faith, freaked out & pulled the plastic out. Resist the urge to do that - just be patient and keep the faith.
donut
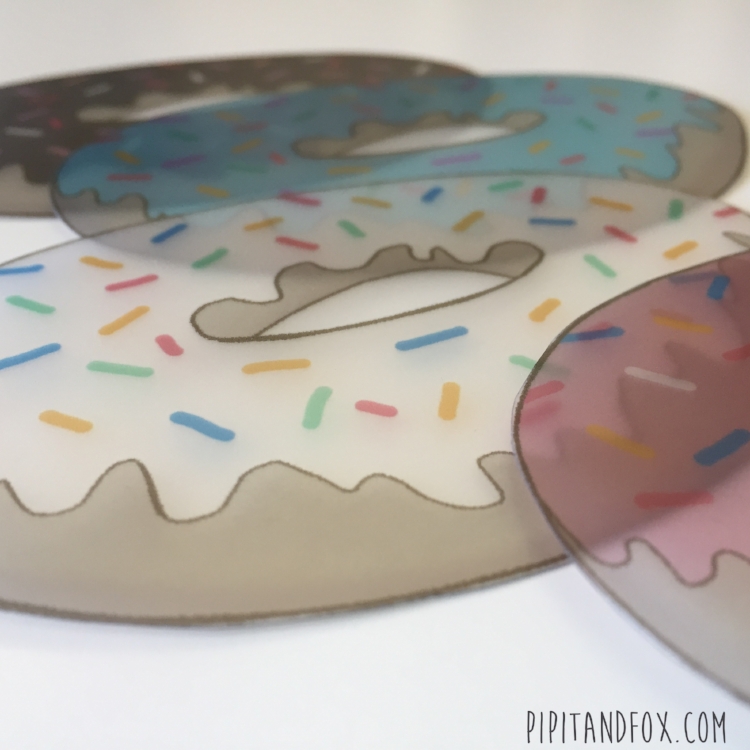
I recommend shrinking 1 piece at a time to start with, then as you get the hang of things, you can try your hand at more at the same time. I like to place my pieces on a sheet of cardboard (on a cookie sheet if using a standard oven). I also like to have a cutting board covered with a sheet of parchment paper standing by to place the pieces on when they come out of the oven. The shrink film will have specific directions for temperature and time, so of course follow that, but the key is to wait for the shrinking to stop, then count till 10. Then, and only then, carefully (using tongs and proper hot pads) pull the plastic out of the oven. If the plastic is still a little wrinkled, then smash it with a spatula as soon as you pull it out of the oven. I also used a layer of parchment paper between the plastic and the spatula, just to be safe.
ice cream cone
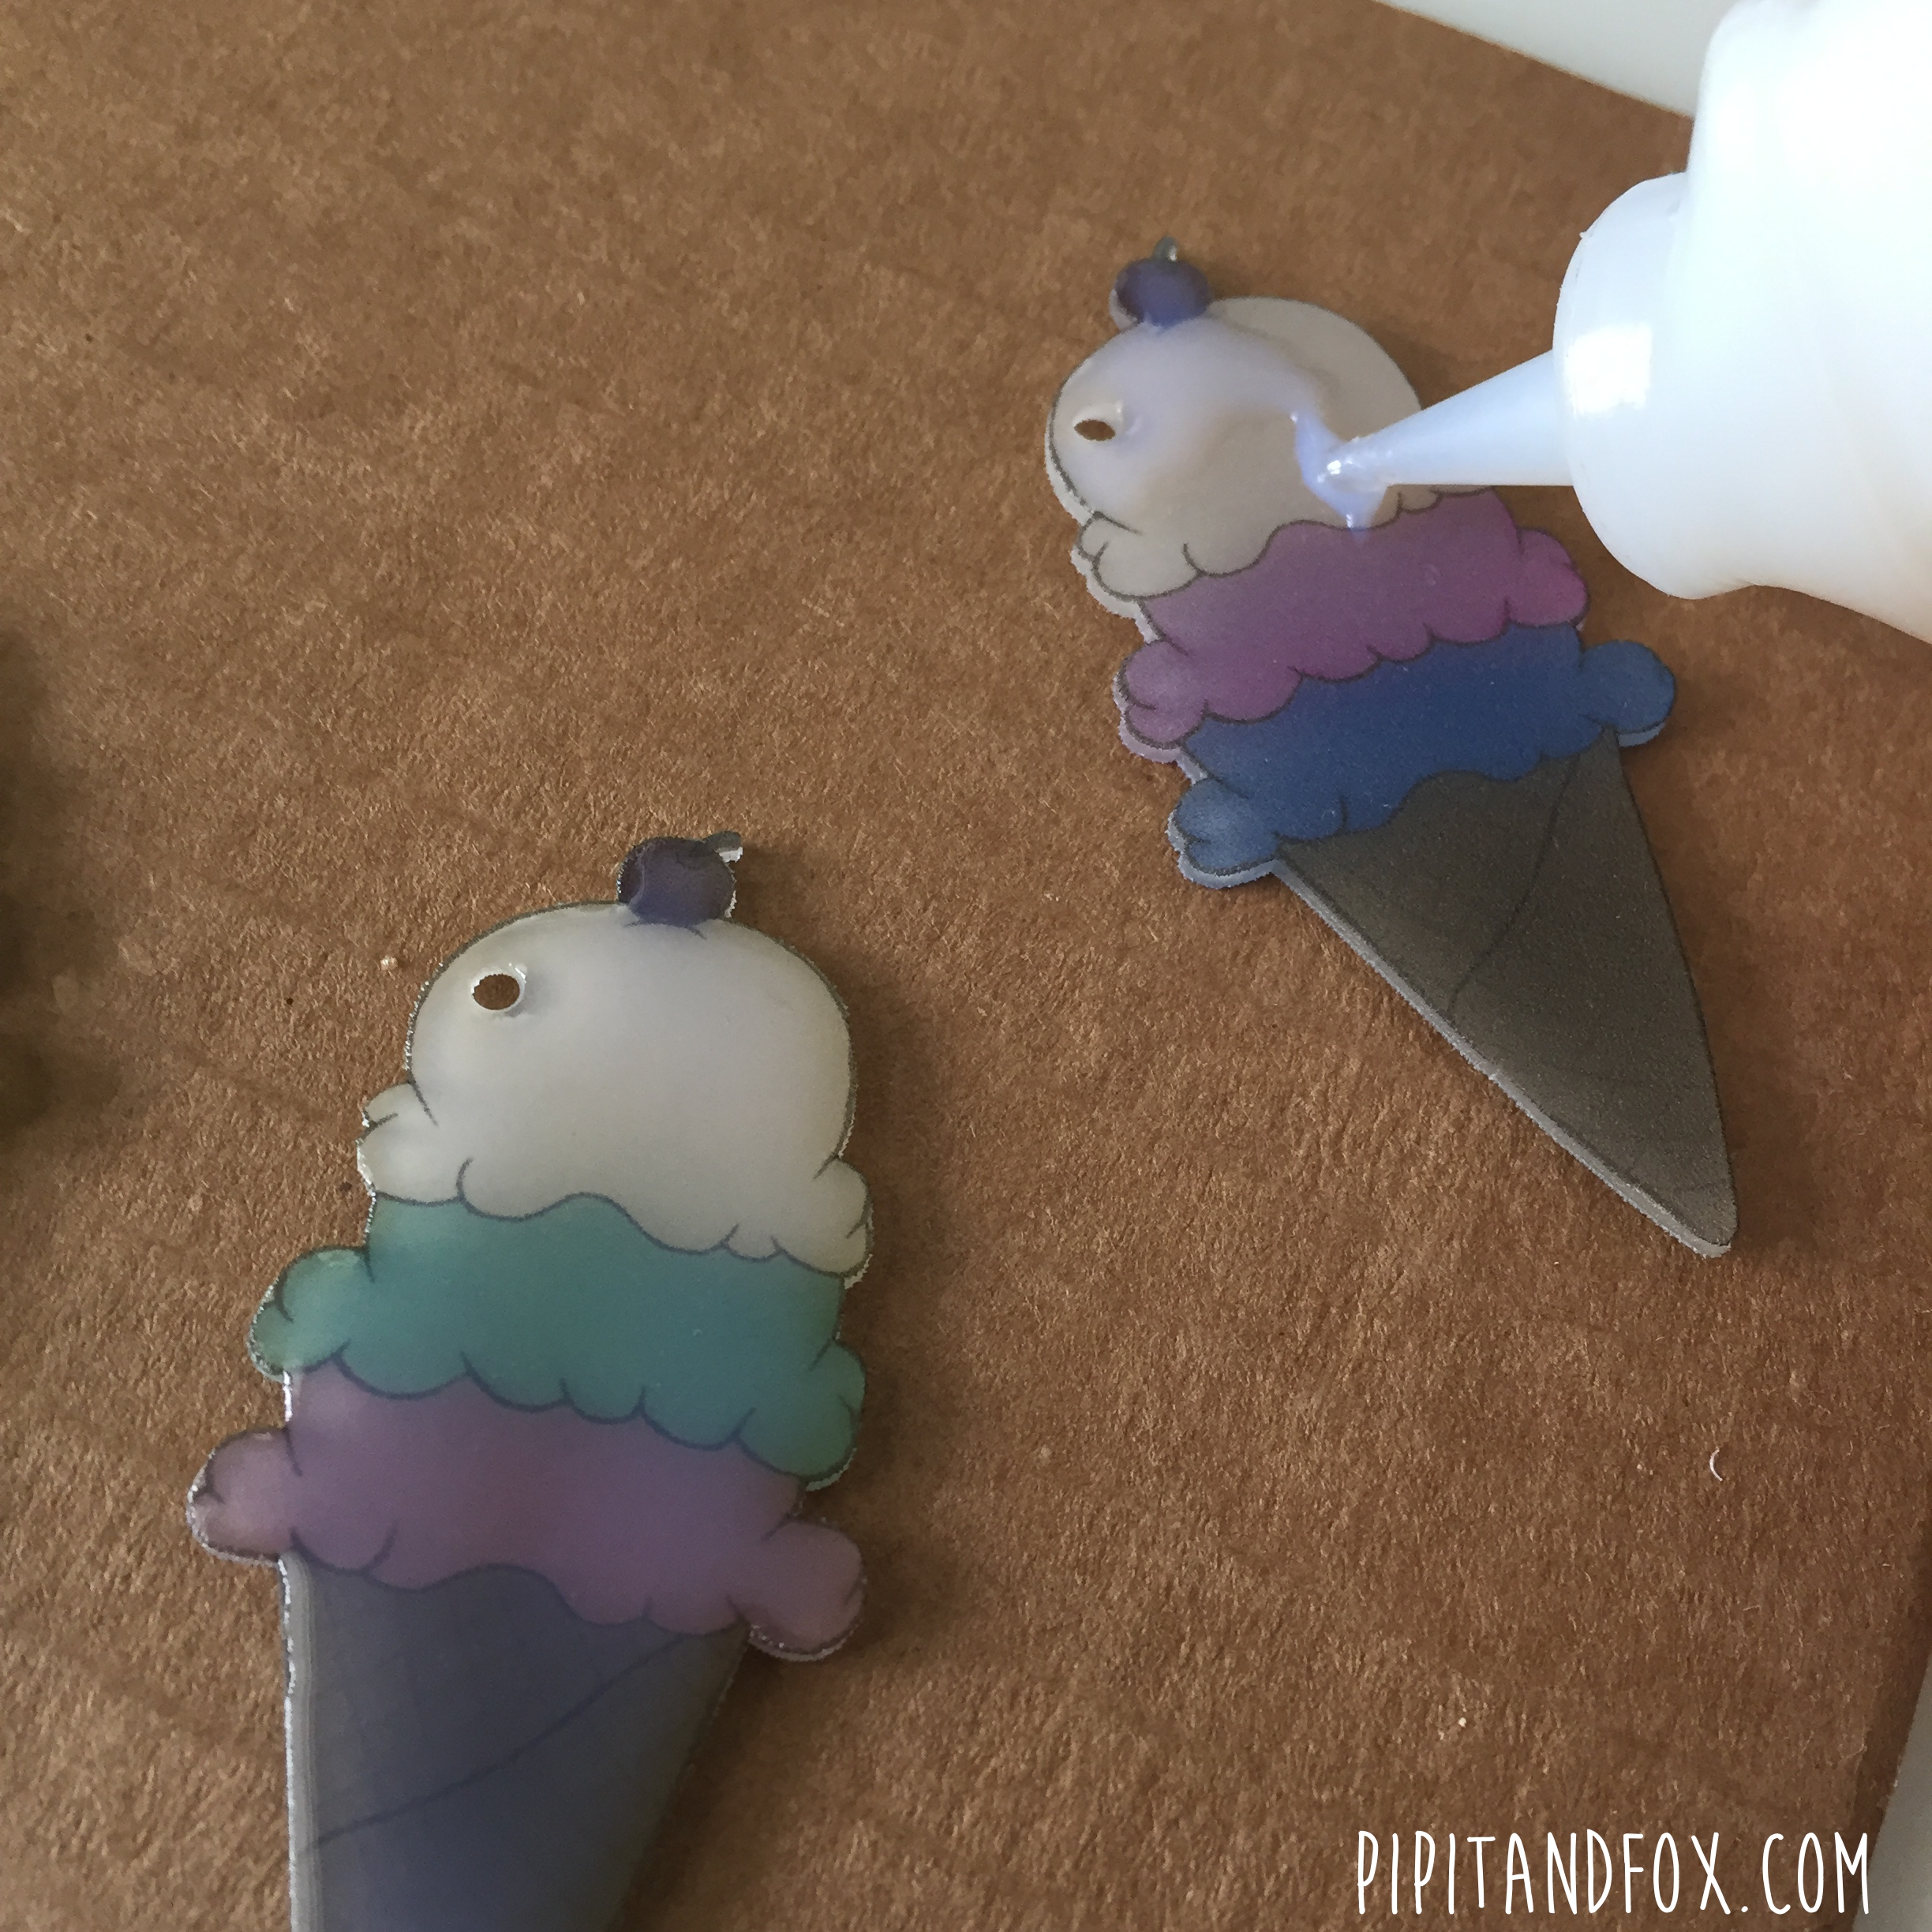
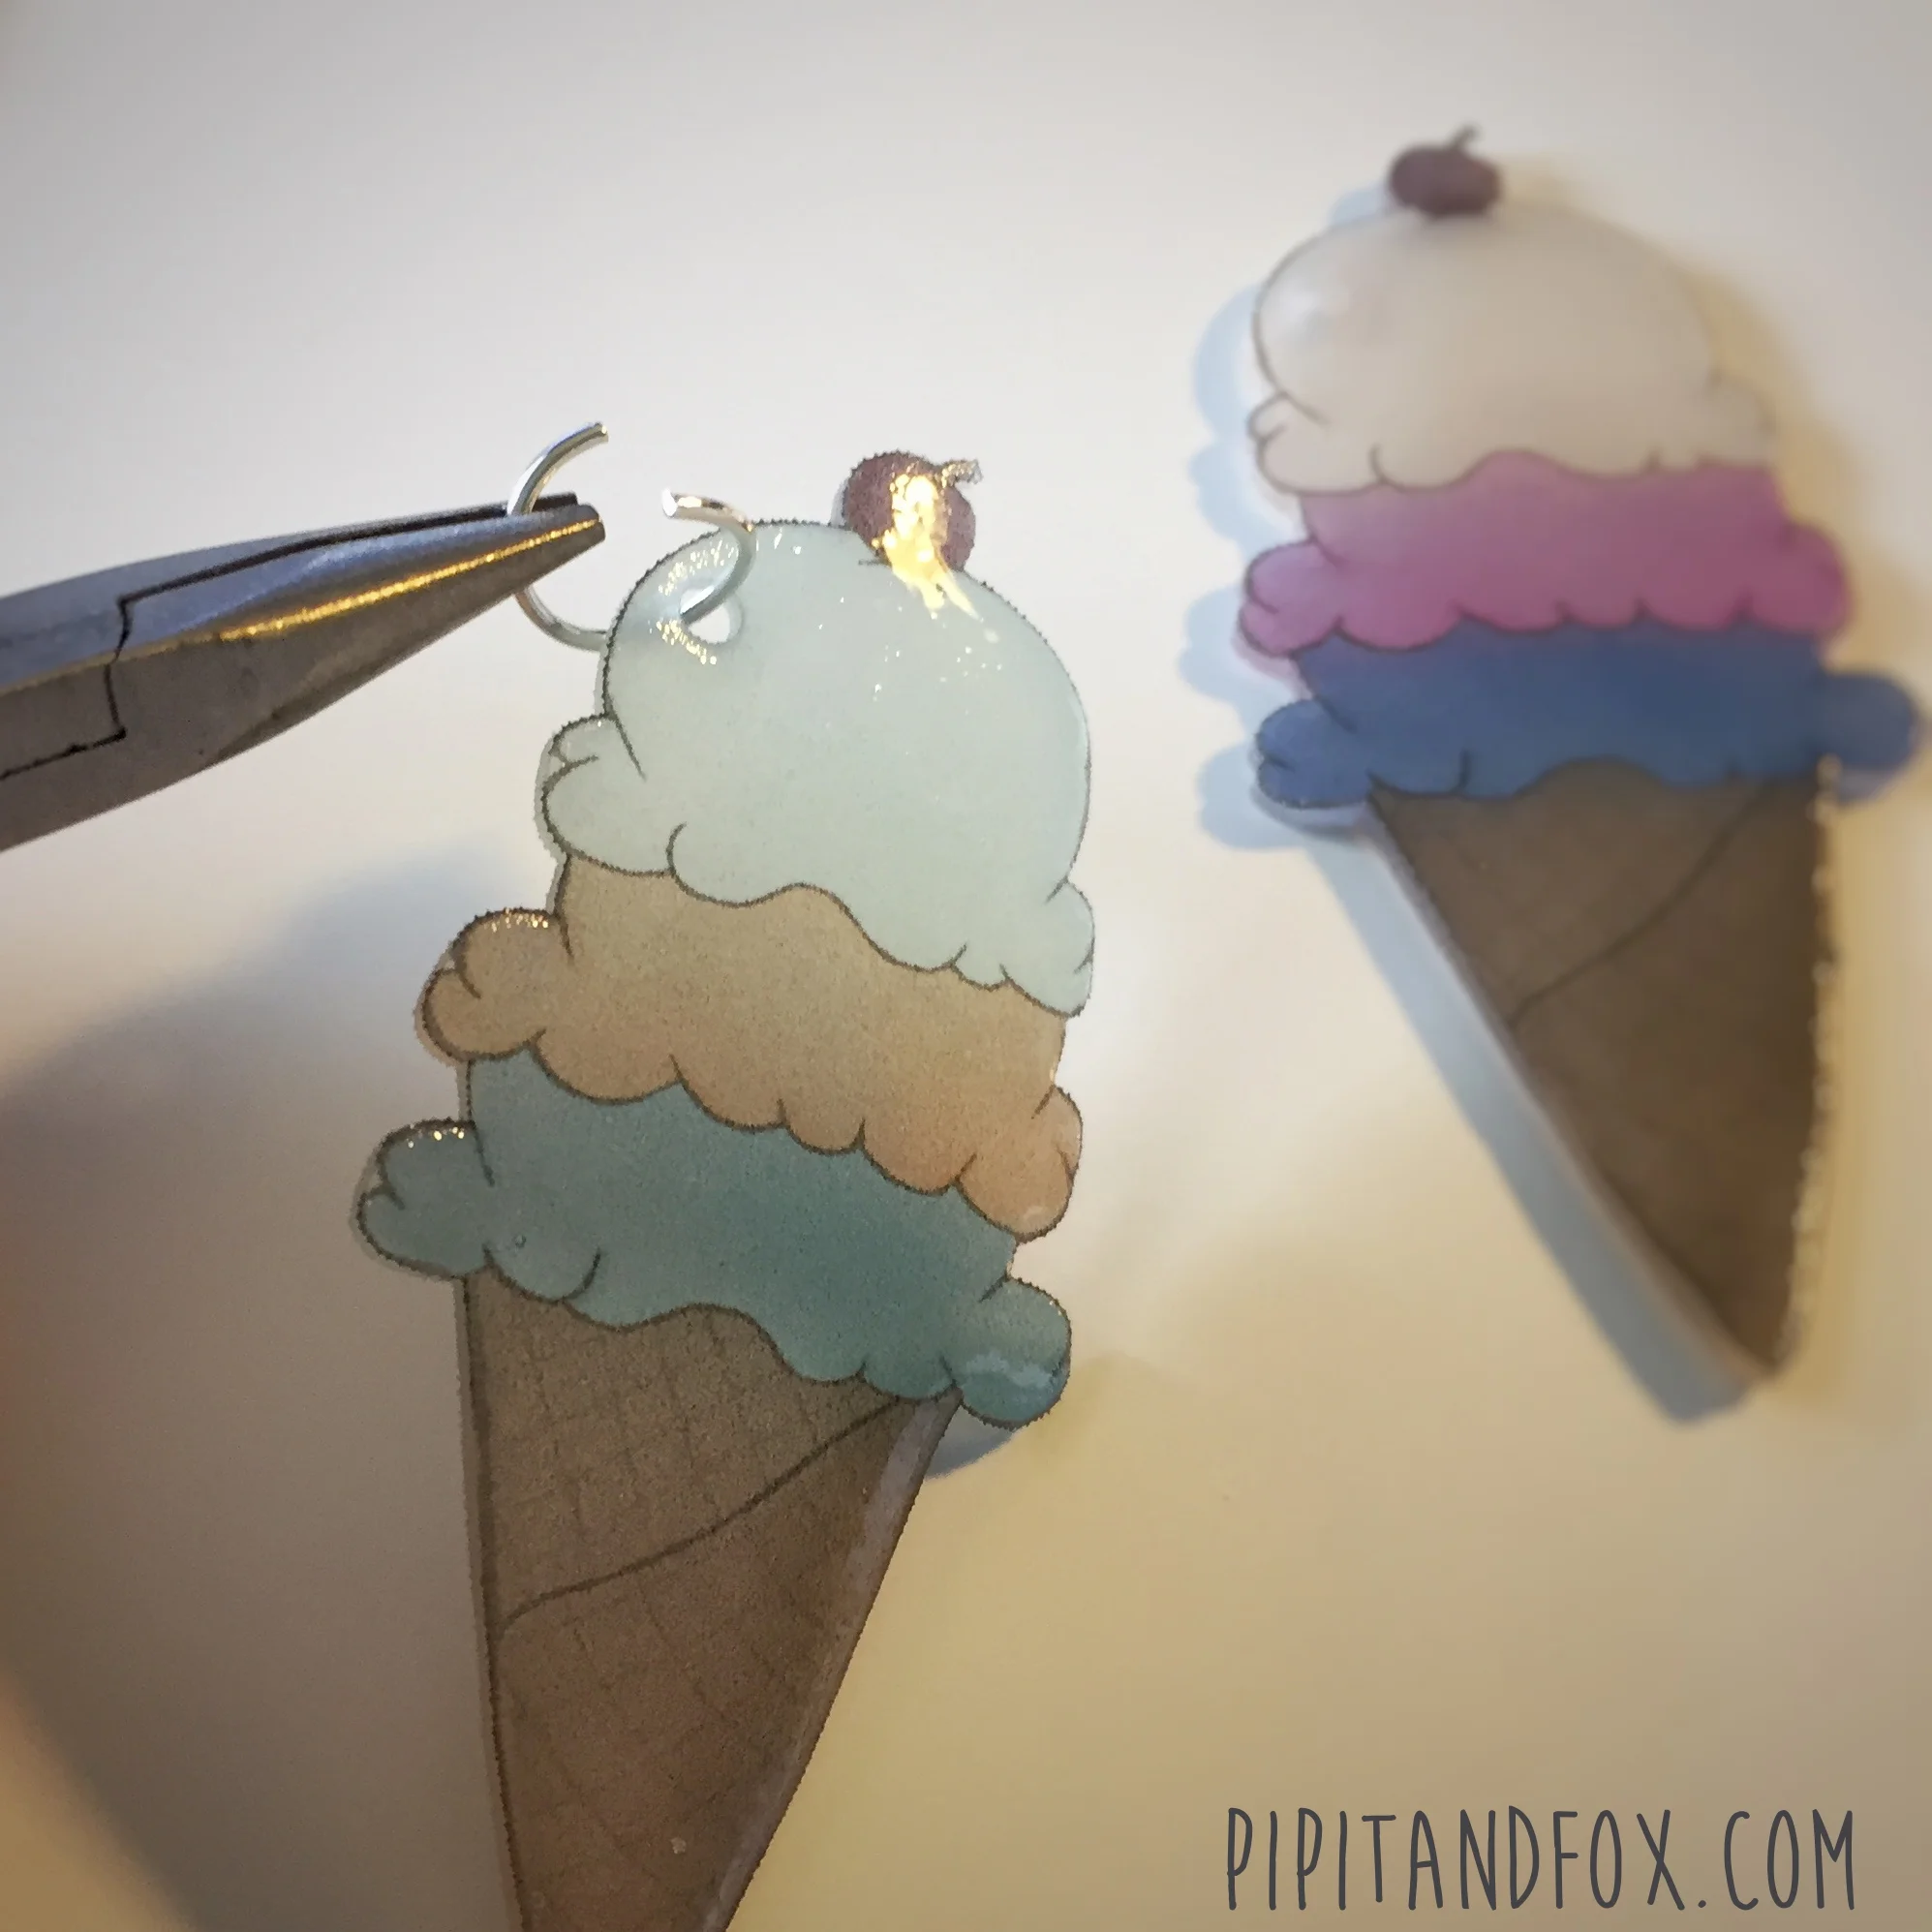
3. GLAZE & FINISH: To protect the ink (or markers/ colored pencils) from fading, and to give the charm a nice shine and smooth finish, I glaze the charms with this. As the directions say, don't shake the glaze. I let the glaze dry for 24 hours before moving onto the next step of attaching the jump rings. I attach jump rings and then put the charms on silver plated 35 mm hoops. Then? - Done!
Ready to make your own? Great! Sign up for my mailing list below to receive a link to download the FREE printable and make your own dessert wine charms. Yay!


